CADO™
is now on Kickstarter to raise funding to complete
the development of the app. Be sure to visit the campaign for exclusive offers
on CADO™ and lifetime licences!
CADO™ is a new CAD application for the iPad developed by Orange Juice
Studios LLP. CADO™ is a fresh take
on the drawing needs required on a mobile touchscreen platform. The interface
system is a patent pending technology called the OMouse that provides not only
an offset cursor for accurate drawing, but also trailing buttons that follow
the cursor within an ergonomic distance to allow single handed drawing for the
mobile platform. Now you really can draw accurately with one hand whilst
holding the tablet with the other hand.
Until now the tablet has not been taken
seriously for technical drawing, falling far short of its potential. This is due
to perceived shortfalls such as the ability to draw accurately with your finger,
sometimes referred to as the ‘fat finger problem’ and the question of its
ability to handlelarge amounts of drawing data whilst remaining fluid and
responsive. Current applications allow the tablet to be be used for primarily
viewing technical drawings andsome provide a measure of editing and mark-up
tools, such as revision clouds, text and the ability to draw primitive
geometry. Thedrawing experience offered by these applications is often a slow
and frustratingone with very little accuracy and hence do not deliver a true
CAD experience. The touch screen has not improved matters with the interface
being seen as cumbersome and simply not fit for purpose. For these reasons
serious drawing on the tablet has not been possible, until now.We feel this
hobbled approach to technical drawing is because the current CAD applications
are based on legacy software that the incumbent companies are bringing with
them to this new platform.
"Caption:
The above image is a screen shot of CADO™ illustrating the OMouse being used to draw a straight line. The
user is able to confirm or cancel the command by pressing either of the
floating buttons that ergonomically trail the offset cursor. The horizontal and
vertical guides along with the running dimensions and angles allow the user to
draw quickly and intuitively"
Another issue tackled by CADO™ is the speed and drawing
experience offered by the application; by employing OpenGL as the primary
coding language and optimising it to suit the hardware constraints of the
tablet device, CADO™ is able to
provide a smooth drawing experience. Even loading a very large amount of data
does not affect the performance of the app. The drawing space is also near infinite
that will allow the user to draw anything from the solar system to a microchip
and anything in-between.
The graphical user interface is intuitive, bespoke
and tailored for single-handedoperation, which makes CADO™a drawing program sophisticated enough for professionalswhilst
simple enough for the home enthusiast to produce technical drawingsand remaining
mobile. Once you are finished with your designs, the drawing may be emailed to
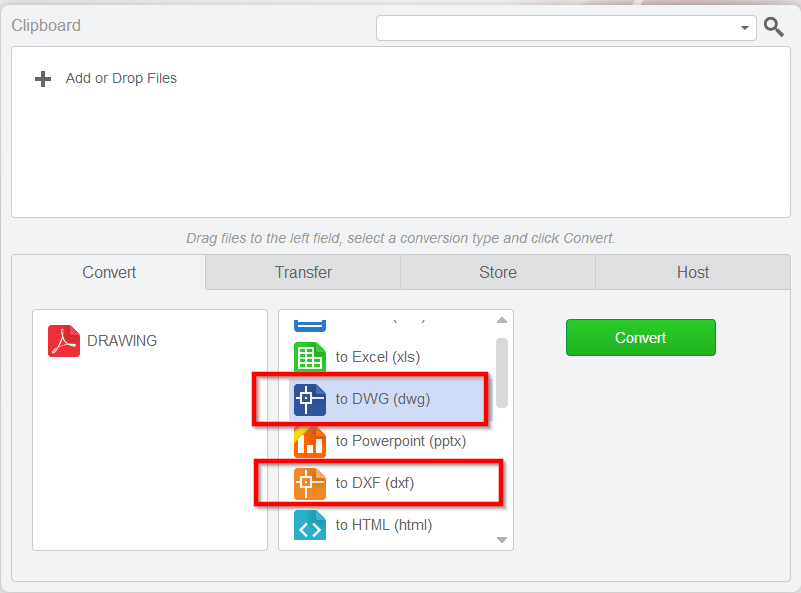
another userin either the native file format, or DXF/DWG, for maximumcompatibility
with no loss of time and duplication of effort.

"Caption:
The above image is a screen shot of CADO™ illustrating the OMouse being used to draw a straight line. The
user is able to confirm or cancel the command by pressing either of the
floating buttons that ergonomically trail the offset cursor. The horizontal and
vertical guides along with the running dimensions and angles allow the user to
draw quickly and intuitively"
Another issue tackled by CADO™ is the speed and drawing
experience offered by the application; by employing OpenGL as the primary
coding language and optimising it to suit the hardware constraints of the
tablet device, CADO™ is able to
provide a smooth drawing experience. Even loading a very large amount of data
does not affect the performance of the app. The drawing space is also near infinite
that will allow the user to draw anything from the solar system to a microchip
and anything in-between.
The graphical user interface is intuitive, bespoke
and tailored for single-handedoperation, which makes CADO™a drawing program sophisticated enough for professionalswhilst
simple enough for the home enthusiast to produce technical drawingsand remaining
mobile. Once you are finished with your designs, the drawing may be emailed to
another userin either the native file format, or DXF/DWG, for maximumcompatibility
with no loss of time and duplication of effort.
Kickstarter link: https://www.kickstarter.com/projects/981031266/cadotm-is-computer-aided-design-cad-for-tablet-dev
Promo video: http://www.youtube.com/watch?v=D1gbLSYQ7T4
Website: www.orangejuicestudios.com